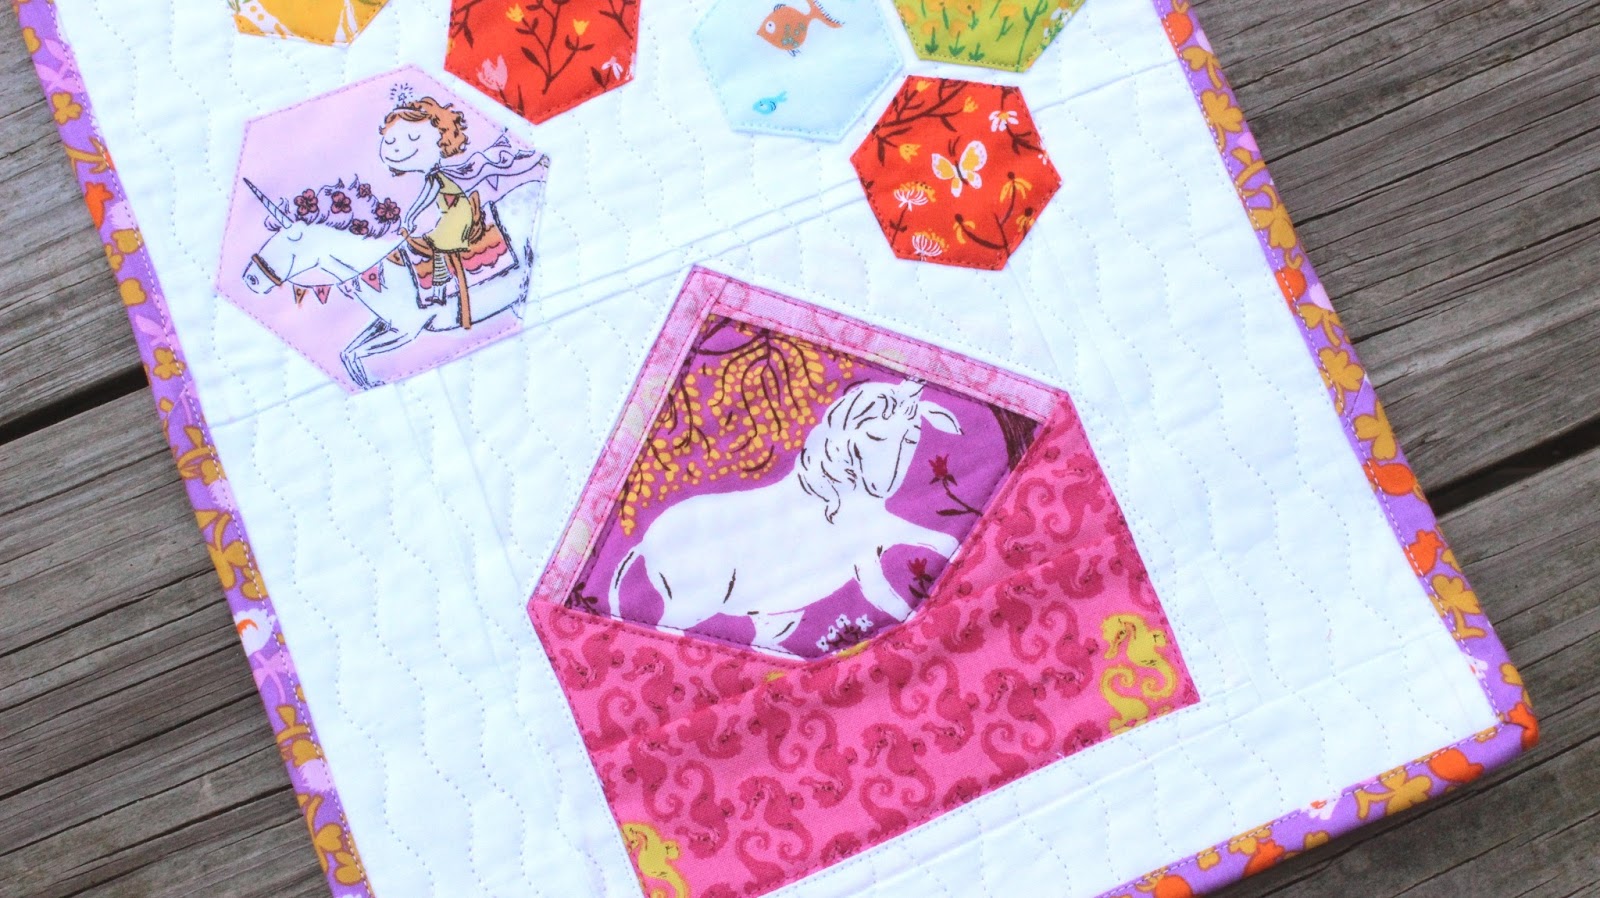
The Envelope
First up, you'll need the "You've Got Mail" envelope paper piecing template from the book Patchwork, Please! sewn together and squared / trimmed. I got this for FREE with a Kindle Unlimited subscription from Amazon.Once I downloaded it to my Kindle App on my iPhone there are "Download the template for this project" links at the beginning of each pattern in a yellow box - I clicked that link, it opened a PDF for the paper piecing template and I emailed it to myself and printed it from my laptop.
Alternately, if you already own the book you're good to go :) There are also some free tutorials for a block very similar to this on Pinterest but they don't finish at the same size as this one. Keep that in mind.
The Hexies
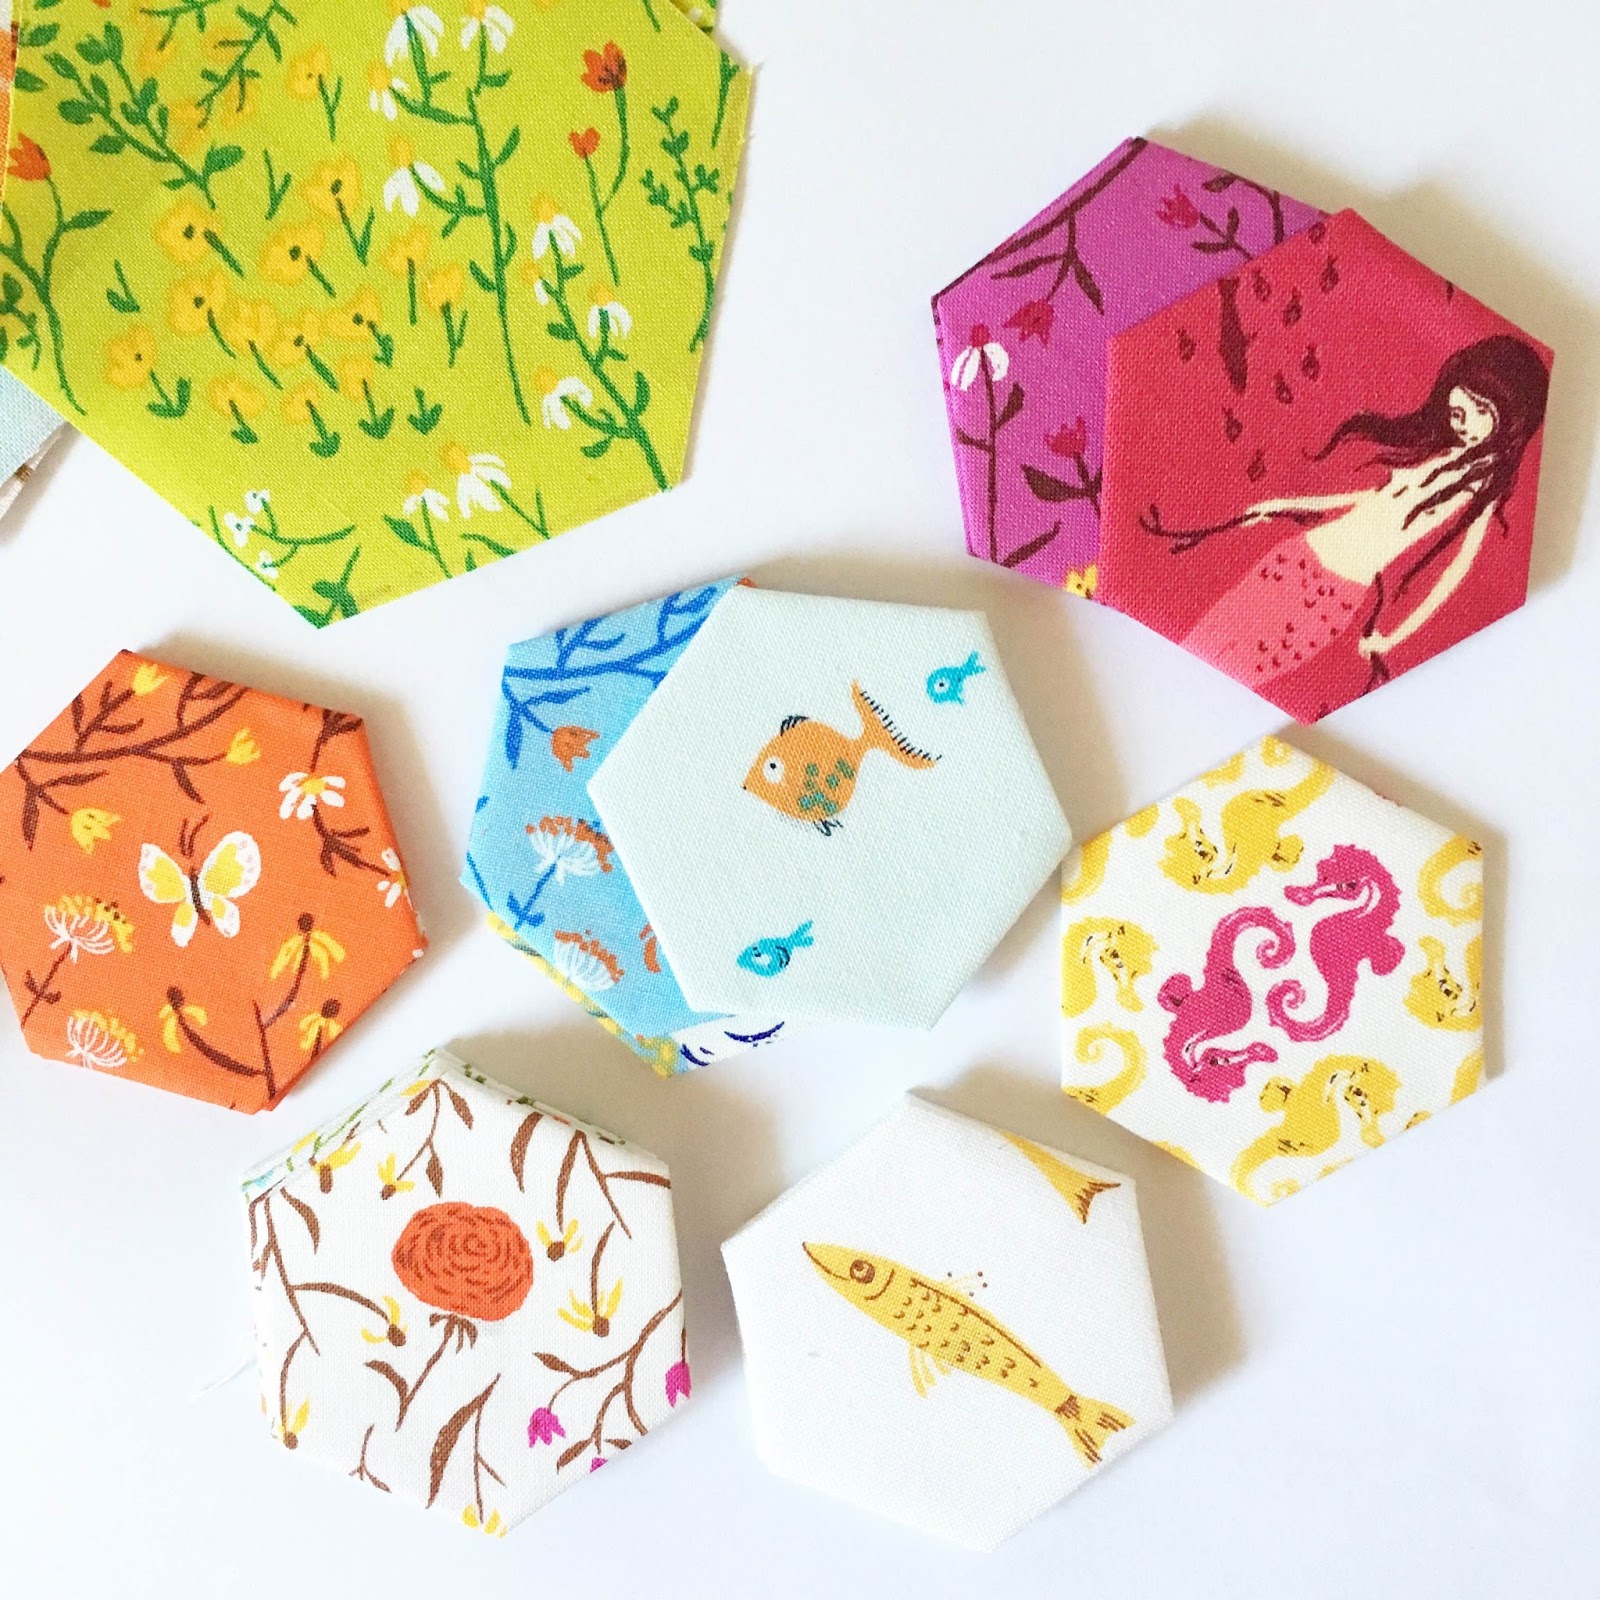
I made about 25 small 1" hexies and 3 large 2" hexies. I ended up only needing 22 of the 1" hexies and 2 of the 2" hexies. But, the extras did give me room to play with various color layouts and designs, so it was nice to have a few more.
I always glue baste my hexies. I've linked some things below from my own site to help you incase hexies are new to you or you'd like to purchase some 1" cardstock templates from my shop. For the 2" hexies I used this free printable sheet (printed on cardstock) and cut them out myself.
Helpful Hexie Links:
- All About Hexies (including how to glue baste)
- DIY Fussy Cutting Template
- 1" cardstock hexie templates
Construction
Okay, now that you've got your hexies and envelope block ready there's only a little more left to do! I've included pretty detailed instructions but the basics are this: add borders and main top panel for exterior, quilt then add on your hexies and bind!
You'll need..
- Batting and backing fabric approx. 22" x 12" each.
- One fat quarter of main exterior fabric (for front)
- 60 inches of double fold binding.
Instructions..
- Add a 2.5" wide strip to the left and right sides of your envelope block from your main exterior fabric. I cut mine a bit longer than the block, sewed them on then trimmed.
- Add a 1.5" x 10" strip to the bottom of your block from your main exterior fabric.
- Add a 14" x 10" rectangle to the top of your block from your main exterior fabric.
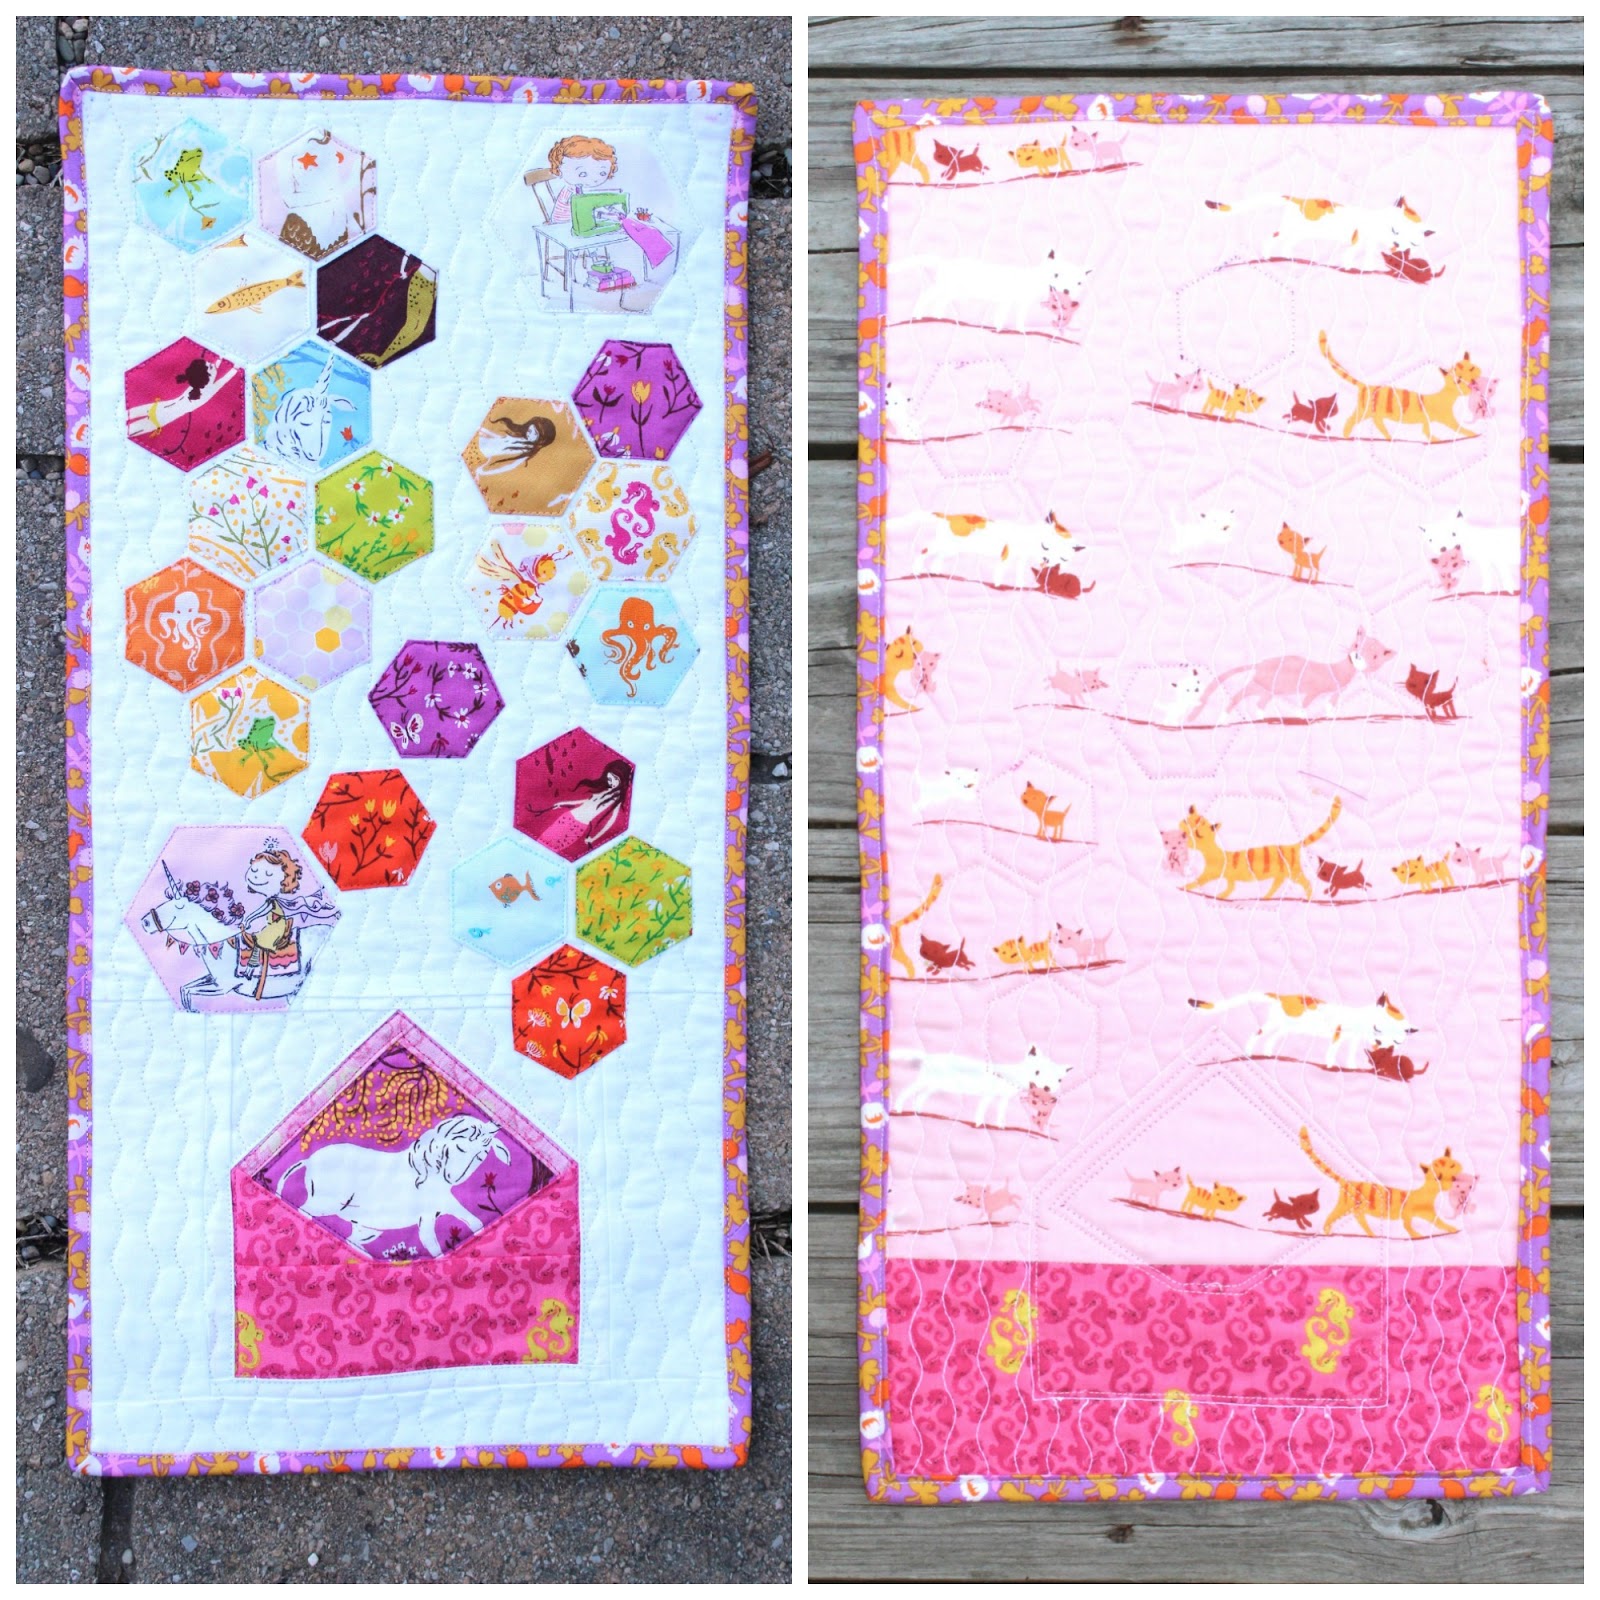
- Make your quilt sandwich. Backing on bottom, batting in the middle, and your main exterior piece (with envelope block on it) on the top.
- Spray or pin baste in place and quilt as desired. I did vertical wavy quilting approx. 1/2" apart.
- Once your quilting is finished trim your mini quilt to be 20" long x 10" wide.
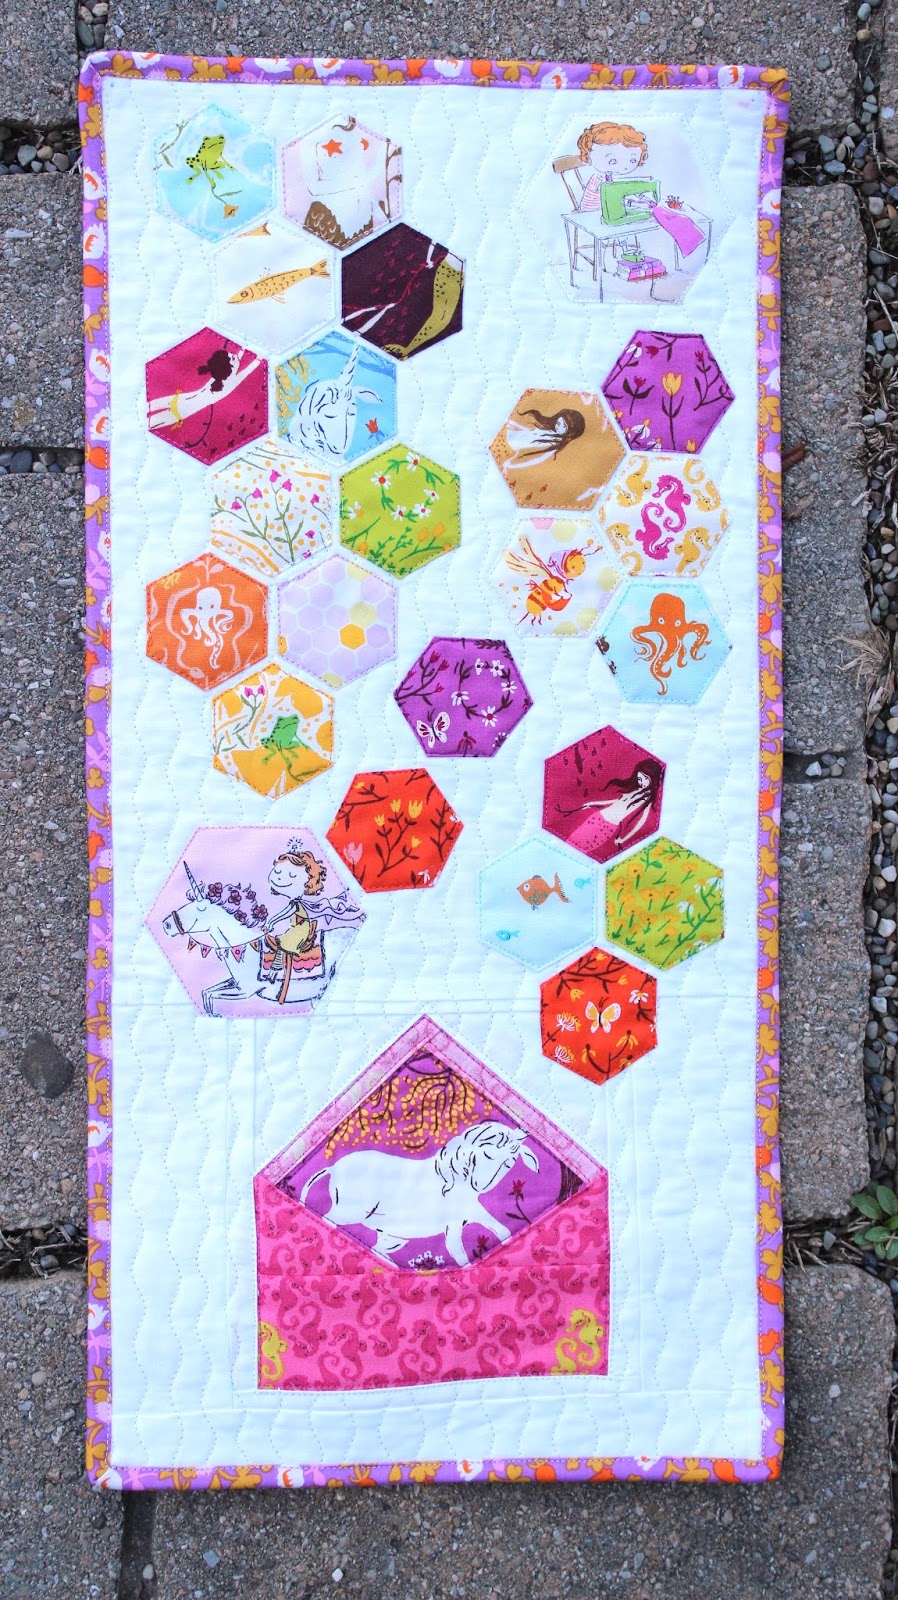
- Arrange your hexie is any design you want. I chose to do a random design with some hexies rotated in different directions and allowed them to natural cascade up the quilt creating some blank spaces to give it a more interesting look.
- Once hexies are arranged to your liking. pick them up ONE AT A TIME, remove the paper from the hexie and press with an iron. Use a bit of fabric adhesive (permanent or temporary) on the backside and place each hexie back down on the quilt until they're all basted.
- Using a topstitch thread that matches your individual hexie, and a bobbin thread that matches your quilt backing, stitch down each individual hexie until finished.
- Bind it and you're done!
I hope this was easy enough for everyone to understand, if you have any questions feel free to ask! Thanks for reading and I hope you love this quilt :)


Very cute. What a day brightener =)
ReplyDelete